Filling The Gap week two
Another week has passed and I’m feeling really positive about the piece I’m working on! Having got a lovely stack of breakdown printed fabric I spent a couple of hours cutting about half of the fabric into long strips. I cut them in three widths - 2.5inch, 1.5inch and 1inch - without thinking about where the cut landed on the fabric. I think I’ve mentioned before that I don’t cherry pick which fabrics to use. The beauty of breakdown printed fabric is the density of mark you get and the fabulous combinations of colour and mark you get when selecting fabric and using fabric in a random way.
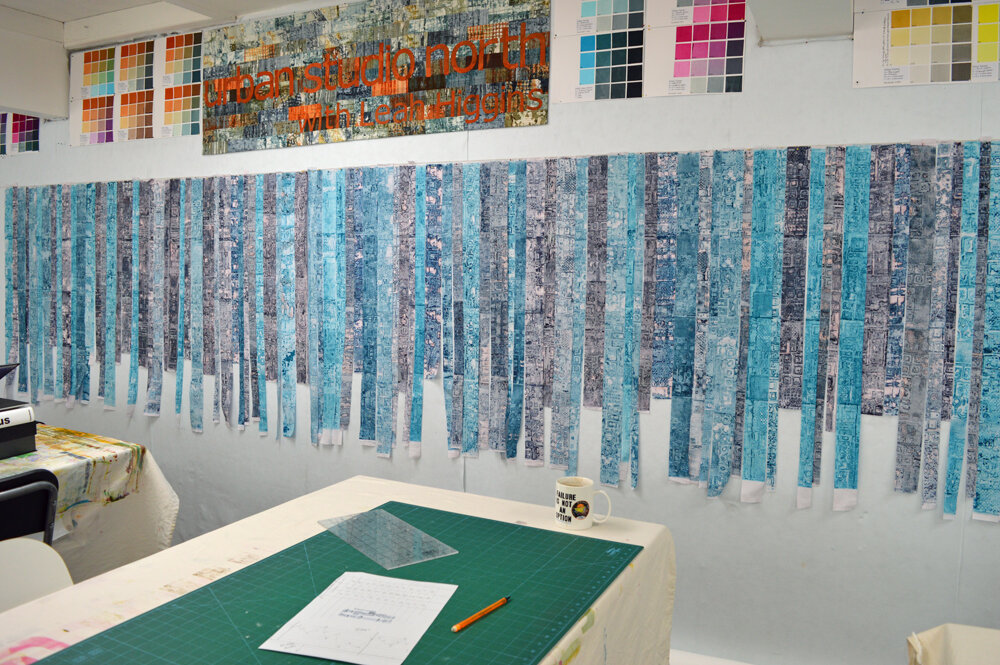
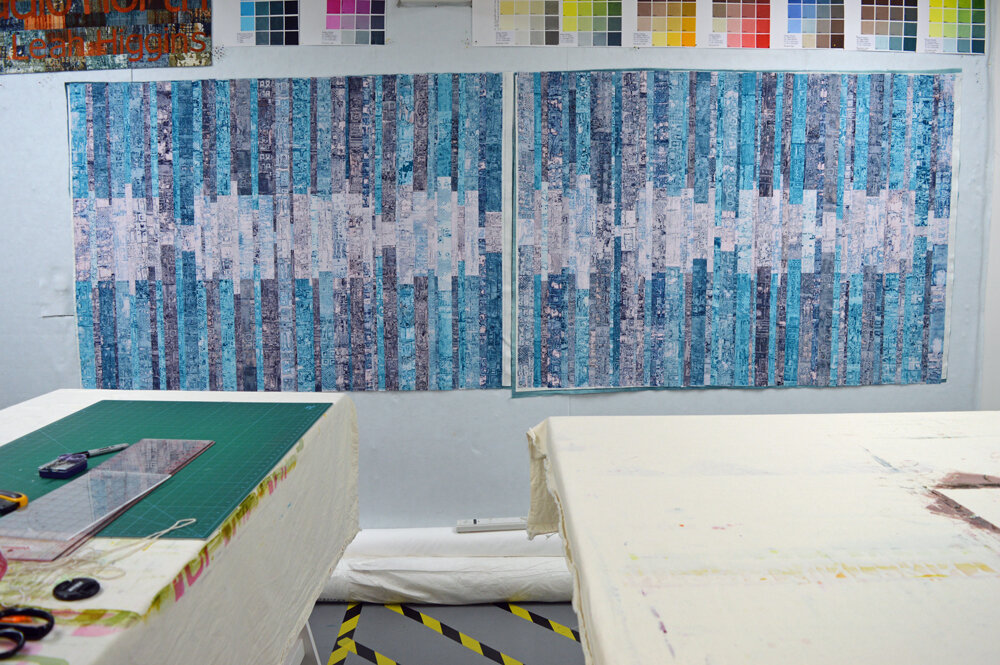
I then divided my pile of cut strips into two groups - a darker value group and a lighter value group - albeit a few of the strips sort of sat in the middle and could have gone in either group. And then the real fun began! I took the pile of darker value fabrics, opened up the strips and jumbled them all together. I closed my eyes and started plucking strips from the pile at random. I pinned the strips to my design wall in the order I picked them. I wanted the finished quilt to be about three metres long so needed about 4.5 metres of strips - good job I have a big design wall.
Next I inserted paler sections of fabric of varying length into each strip. Although I selected the fabric pieces at random I based the length of each insertion on a short musical score of twelve notes. The earlier quilts in this new Cadence series were constructed using ‘pleasing’ shapes with no intent other than to enjoy the process of making. But having regained my creative confidence I wanted to link this new piece to ‘cadence’, in this case a musical cadence. Because the width of the strips varied the repeat pattern was not immediately obvious but I know its there.
It is always very tempting at this stage to do some ‘tweaking’; swapping out bits of fabric that maybe don’t have a lot of interesting marks on them or switching fabrics around to avoid two strips cut from the same fabric sitting side by side. But it is often these ‘imperfections’ that pop and create interest in the finished quilt so I resisted temptation and moved onto to constructing the quilt.
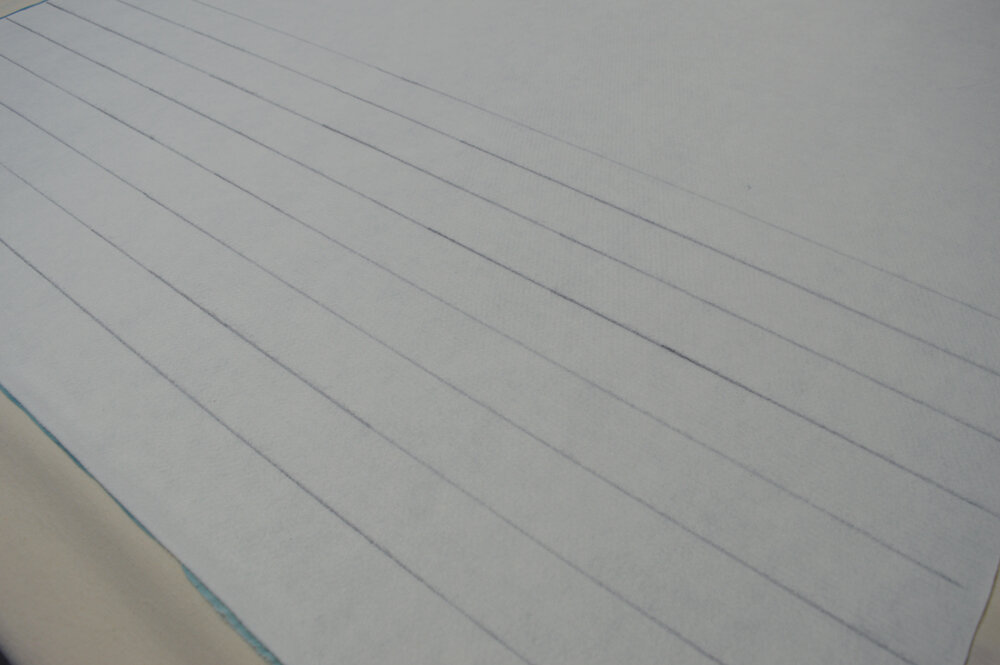
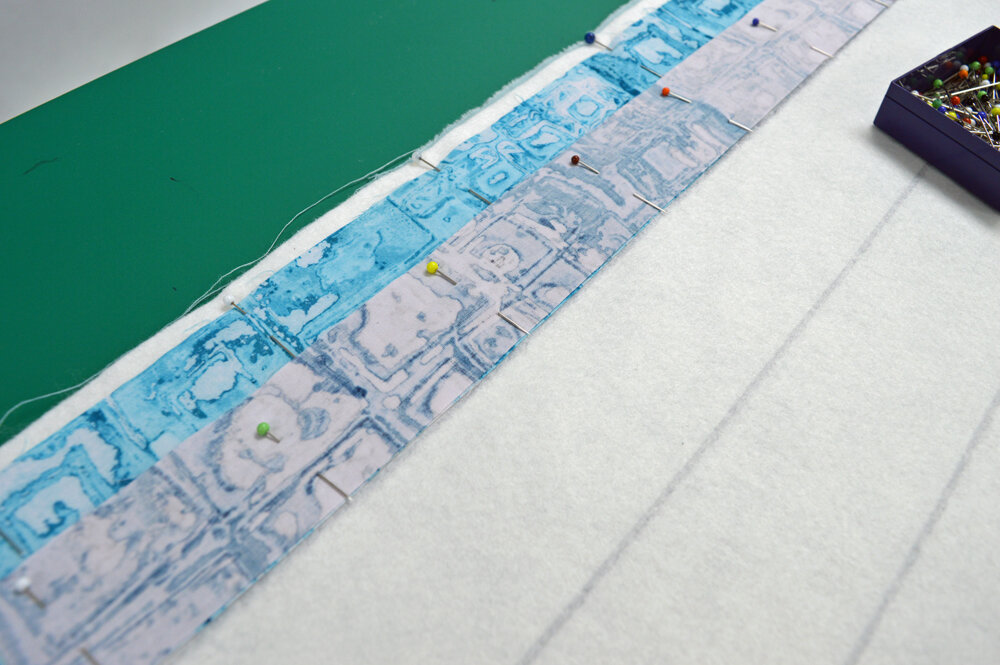
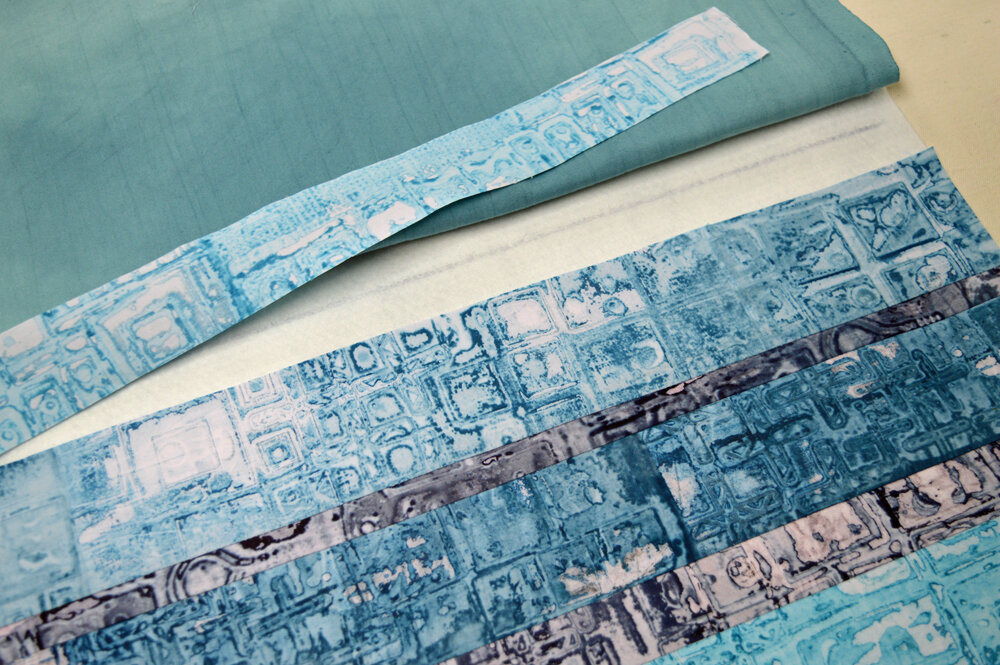
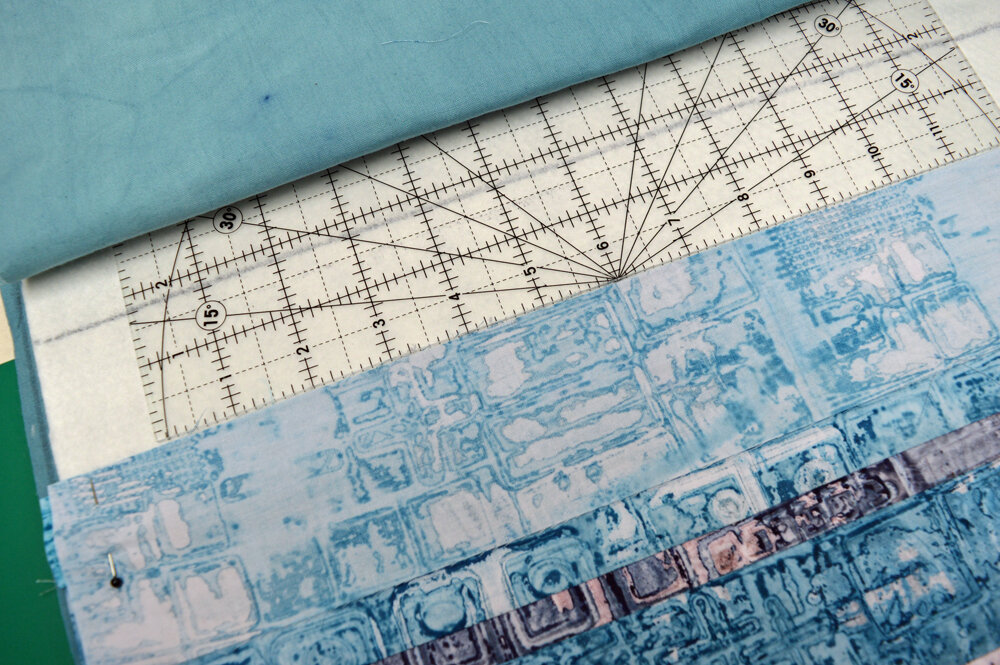
Because my sewing machine only has a 7 inch throat I construct large quilts in two halves and put them together as late in the stitching and quilting process as possible. I prepared two pieces of backing fabric and wadding, using basting spray to attach the wadding to the backing fabric. And then I used a stitch and flip method to add my strips, in order, to the wadding / backing. I love this method of construction because it eliminates the basting process .. I am making my ‘quilt sandwich’ as I join the strips. But also because it allows me to keep the long edges of all my strips parallel satisfying the control freak in me! In the photos below you can see that I use a sharpie to draw parallel lines, 2 inches apart, on my wadding. In my Ruins quilts all my strips were 2.5inches wide so each raw long edge lined up with a drawn line. In these Cadence quilts the strip width varies but I can still use the drawn lines as a guide. And so I have spent three days this week stitching and flipping! And as I’ve been sewing I’ve been thinking about the quilting and thinking about the orientation of the finished piece …. wondering what it would look like turned through 90 degrees?


