 Building work is so much easier when you invest early on. Encourage one child (or preferably two as it is always good to have a back up) to take things apart and occasionally put them back together again from an early age. Nuture a love of 'making' - Airfix kits, quilts, simple electronic kits, glitter covered gluey messes, Warhammer soldiers, tin foil covered shields and swords, anything they want. Support said child when they want to make a living by working with their hands. Provide interest-free loans with the Bank of Mum and Dad to buy all sorts of serious looking wood working and picture framing tools. Then sit back and enjoy decades of payback.
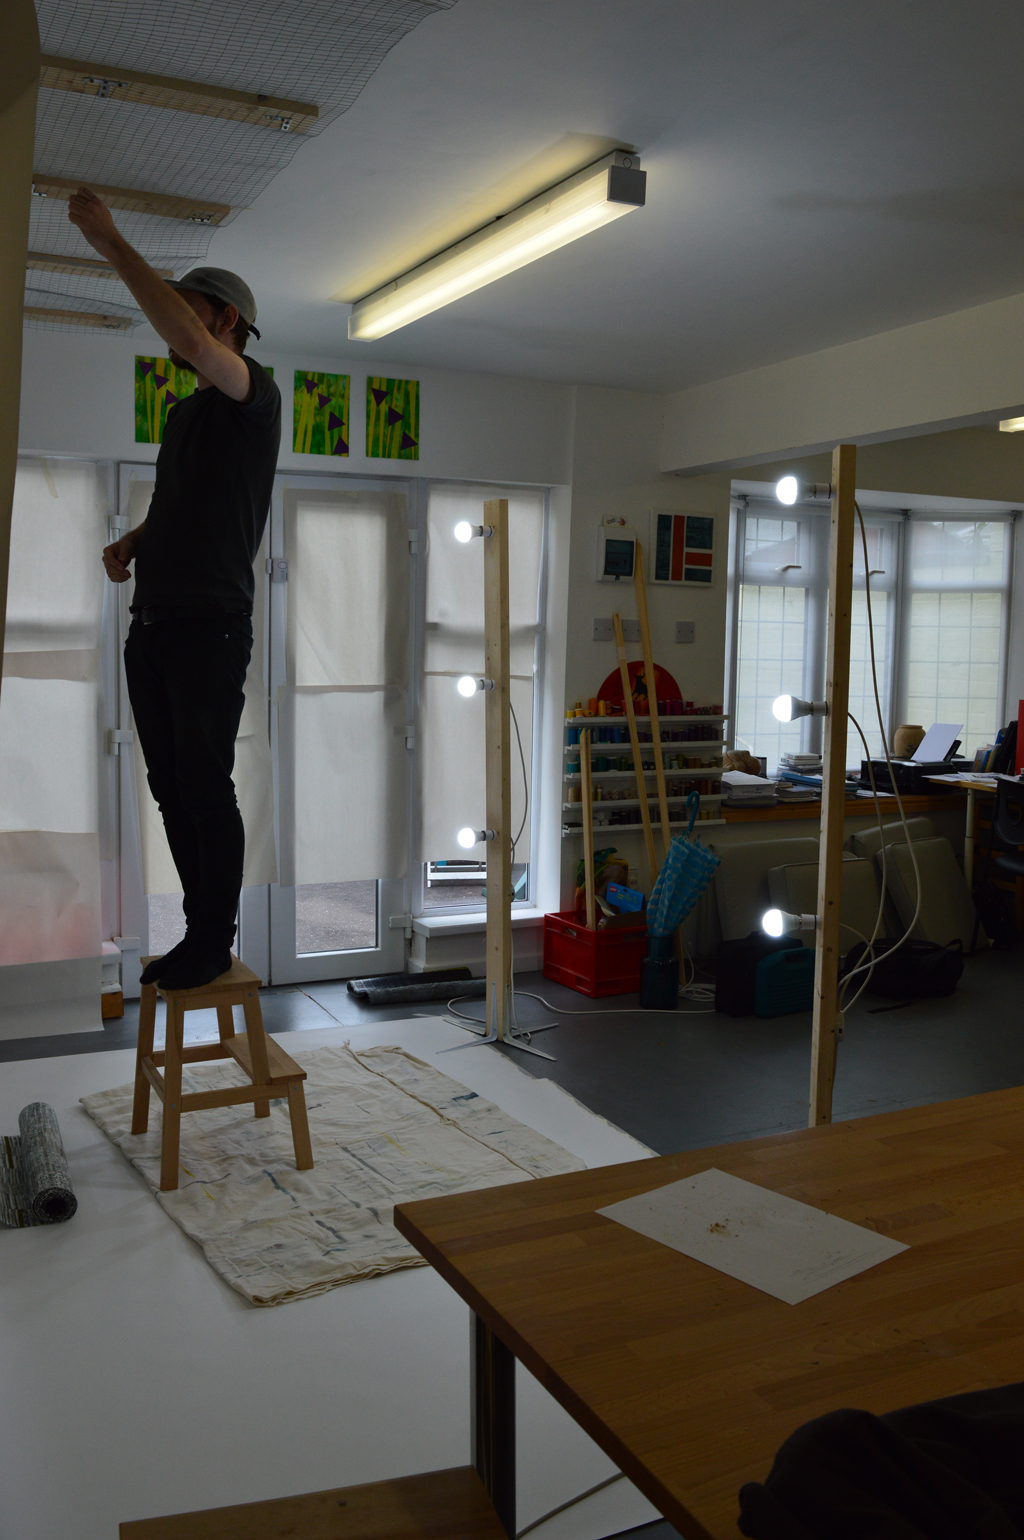
Yes, said son Cal (check out his framing business) put in a solid 6 hours yesterday during which he installed three LED lighting panels, the polystryene panels to make a 6.6m design wall, a bookcase and a CD rack. All for the price of a McDonalds!
When we first built the studio we spent a lot of the available money on insulation as I knew that it would be hard to form a good studio practice if the studio was cold in the winter. With the rebuild the main investment has gone on lighting. Because I have a day job many of my studio hours are in the evenings. I originally installed 6 fluorescent strips and although I used 'cool white' bulbs the light was still not great. And the light fittings hum. And they cast shadows which makes it harder to photograph my work. So yesterday we swapped 3 of them out for 60W LED panels. They are brilliant. White light without shadows and without hum. The other 3 have been ordered and Cal is on standby to install them. It pays to invest.
 When I needed to photograph a really big Ruins piece in August I ended up borrowing a studio and some lighting. (The design walls in my wonderful studio just weren't big enough.) And whilst I was happy with the result it was a lot of effort to 'book' the studio, transport the quilt etc. So, with help from son
